Gears of War Coalition of Ordered Governments COG Identification Tags!
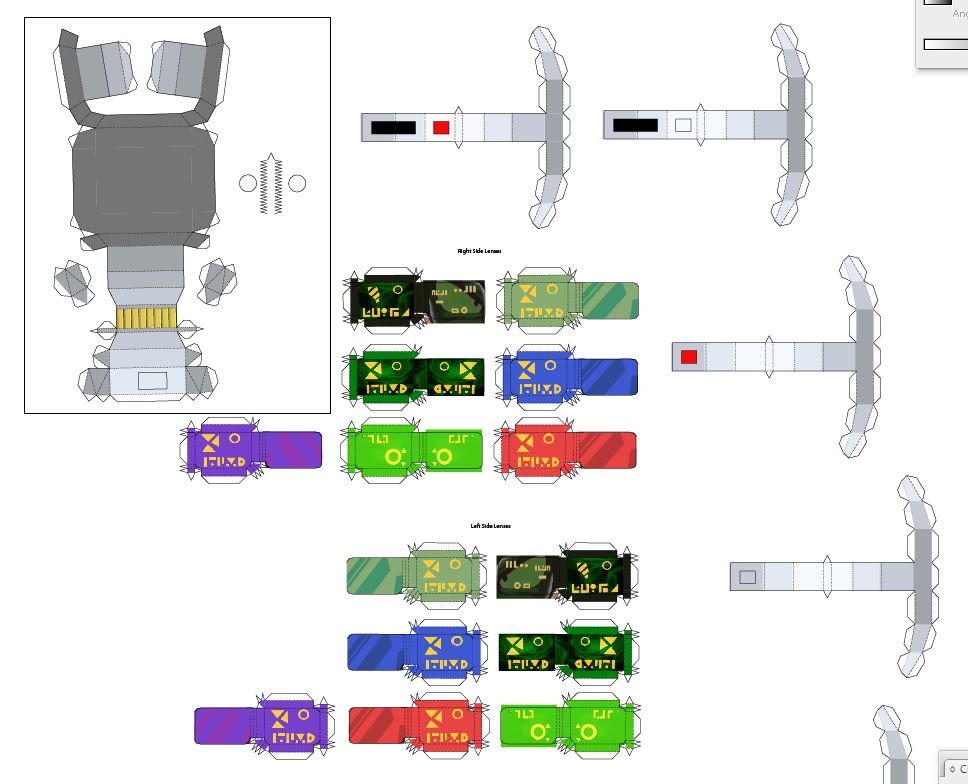
Print these, cut them out, glue them together, and put them on a military style chain!


Since EPIC decided not to give us COG Tags in the Limited Edition Gears 2, I took matters into my own hands. Click here to download!
How to make your own metal COG Tags:

(see image link for photos of each step)
How to make Metal COG Tags:
(with tools and supplies available from any hardware store)
Supplies:
1 strip 2" x 1/8" aluminum
coping saw, or jeweler's saw
set of hobby files
150, 300, & 600 grit sandpaper
#0000 steel wool
vice or clamp
drill & 1/8" drill bit
tape
fine tip marker
can of clear coat
X-acto blade
Step 1: Create a pattern. This can be done with paper and pencil, or a computer generated image (I used Photoshop). Draw, or print the image on a thick paper such as card stock or Bristol board.
Step 2. Cut a section off the aluminum strip with the coping saw (making a rough square). Using an X-acto blade, carefully cut around the edges of the the cog pattern, and tape it to the piece of metal. Trace around the edge with the fine tip marker, then dust the metal with clear coat (so the pattern doesn't rub off while you're working on it).
Step 3. Drill a hole in the center of the pattern, near the inside edge of the circle in the 'cog'. Clamp or vice the piece of metal (it's a good idea to run some tape along the inside of the vice or clamp, this will keep the piece of metal you're cutting from getting too scratched). Detach one end of the coping saw blade, thread it through the hole, then reattach. Slowly saw out the center hole, keeping the cut just inside the line (you can always remove more material later, so it's best to leave a little as the cut will be a bit rough).
Step 4. Making small inward cuts from the edge, make your way around the edge of each cog (just outside the pattern line). It doesn't have to be perfect, as you'll be sanding it down later.
Step 5. Using the hobby files (or needle/ jeweler files), sand the edges down to the marker line, keeping the edge as level as possible, and eliminating most of rough sawed edge. This is the most time consuming step.
Step 6. Start with 150 grit sandpaper and begin smoothing the edges. Continue with the 300 grit, and finally the 600 grit sandpaper. At this point there should be no visible saw marks, nicks or gouges. Drill an 1/8" hole at the top of each cog.
Step 7. Clean all metal filings and dust away from your work area (the cog can be easily gouged at this point, and you'll have to start the sanding process over again, which is a pain in the butt). Lightly brush the entire surface of each cog with #0000 steel wool (or whatever final polishing method you prefer).
Thread each of the cogs onto a dog tag/ ball-chain. These can be found at most hobby or craft stores (I found one at an Army surplus store for a couple bucks). Or... you can always pop one off a pen at the bank or grocery store (though, you didn't hear that suggestion from me).
Congratulations! You have just fabricated a set of "Gears of War" cog tags.